
Grow Your Own Garlic
The ultimate guide for growing and harvesting garlic yourself!
Cameron Carver
8/6/20253 min read
*Our links are associated with an affiliate program, and we earn a small commission when you buy through our links <3
There’s something deeply satisfying about growing your own garlic—from the first green shoots to the moment you pull a full, fragrant bulb from the earth. Whether you're a seasoned homesteader or just getting your boots muddy, this guide will walk you through everything you need to know to grow garlic successfully at home.


Why Grow Garlic?
Garlic isn’t just a kitchen staple—it’s a powerhouse in the garden too. It’s easy to grow, helps deter pests naturally, and stores well through the winter. Not to mention, homegrown garlic tastes better than anything you’ll find at the store.
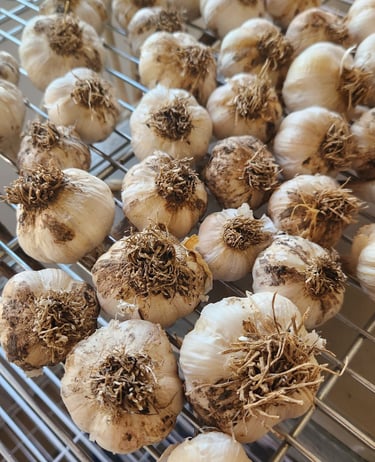
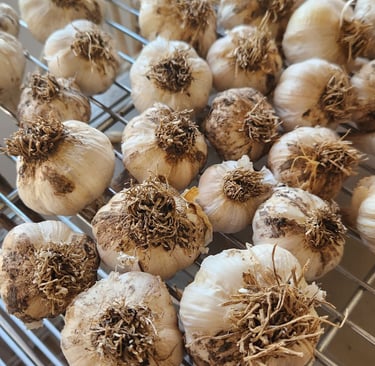
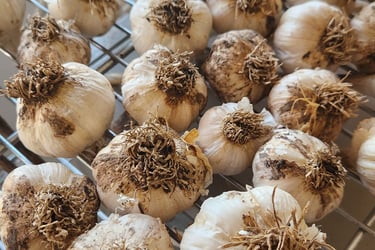
Freshly harvested garlic from our garden this season!
What You Need to Get Started
Before you plant, gather your tools and supplies. Here’s a quick list of essentials you can grab on Amazon:
Garlic seed bulbs (make sure they're specifically for planting – not store-bought garlic):
Buy organic garlic bulbs on Amazon. Check out this option: https://amzn.to/4mr75al
Compost or organic fertilizer: https://amzn.to/47jDE5Q
Raised bed(s) we love using these! Super easy to assemble: https://amzn.to/3J2SOT0
Gardening gloves, hand trowel, other assorted tools: https://amzn.to/4fpePHL


When to Plant Garlic
Fall is best for planting garlic, usually 4–6 weeks before the ground freezes. This gives the bulbs time to set roots and go dormant during winter, then burst to life in spring.
Best Planting Time: Late September to early November (depending on your region).
Planting the Garlic
Space each garlic clove 4–6 inches apart for healthy bulbs.
1. Choose a Sunny Spot
Garlic loves full sun and well-draining soil. If your soil is heavy clay, consider using a raised bed.
2. Break Apart the Bulbs
Separate the garlic bulb into individual cloves. Don’t remove the papery skin.
3. Plant Pointy-End Up
Place each clove 2 inches deep, with the pointed end facing up, and space them about 4–6 inches apart.
4. Mulch Generously
Cover your garlic bed with straw, shredded leaves, or grass clippings to insulate and suppress weeds.
5. Water Lightly
Water just enough to settle the soil. Overwatering early on can cause rot.


Caring for Your Garlic
Water: Once shoots appear in spring, water about 1" per week.
Fertilize: Side-dress with compost or an organic fertilizer in early spring.
Weed: Keep the bed weed-free to reduce competition.
Tip: Don’t pull off garlic scapes (those curly green tops) until they’re fully developed—they’re edible and delicious!


Delicious Garlic Scapes!
When to Harvest Garlic
Harvest garlic in mid to late summer, when the bottom leaves turn brown but the top leaves are still green (usually 3–4 green leaves remaining).
Gently loosen the soil with a fork and pull the bulbs out carefully. Let them cure (dry) in a warm, shady, well-ventilated area for 2–4 weeks.
We use a rack in our sunroom, but you can check out this hanging rack out! https://amzn.to/3J41h8o
Storing Garlic
Once dried, trim off roots and stalks. Store bulbs in a cool, dry place—a mesh bag or basket works well. Properly stored garlic can last 6 months or more.
Check out these mesh storage bags from Amazon: https://amzn.to/4fqtqCR


Bonus! Replant Year After Year
The beauty of growing garlic is that it’s self-sustaining. Just save a few of your biggest, healthiest bulbs and plant the cloves again in fall.
Garlic is one of the most rewarding crops for a homesteader, whether you’re on a few acres or working with a backyard garden. With just a little time and planning, you’ll be enjoying your own homegrown garlic in everything from soups to sauces.